Update Locations
Pulsetic monitors your websites, servers, and APIs from various global locations. This gives you a complete view of your resources' availability and performance, as issues can differ by region. You can customize the locations used for your checks, ensuring you monitor the areas that are important to your users.
It is important to mention that on the Free plan, you cannot choose and select desired locations; the location will be offered randomly. You can activate and deactivate locations on the paid plans only.
Why Update Locations?
Choosing different monitoring locations gives you a global view of how your website or service performs worldwide. You'll see if your site loads quickly in Tokyo just like it does in Toronto or if certain areas experience delays.
This is especially useful if most of your users come from specific regions. You can focus monitoring on those locations to ensure the best experience for your main audience.
Different networks and internet providers around the world can affect your site's performance. By checking from multiple locations, you'll spot if certain areas have consistent problems that need fixing.
Some businesses also need to verify their service works properly in specific countries to meet local regulations. Multi-location monitoring helps confirm you're compliant everywhere you operate.
In short, checking from various locations helps you:
✓ Understand global performance
✓ Optimize for your key markets
✓ Identify regional network issues
✓ Meet geographic requirements
Update Location Process
Step 1: Find and Select Your Monitor
- Log in to your Pulsetic account.
- In the left-hand navigation menu, select Monitors.
- Locate the monitor you want to update the locations for.
-
Tap on the monitor's name to open its details. Alternatively, tap the ellipsis (three dots) next to the monitor.
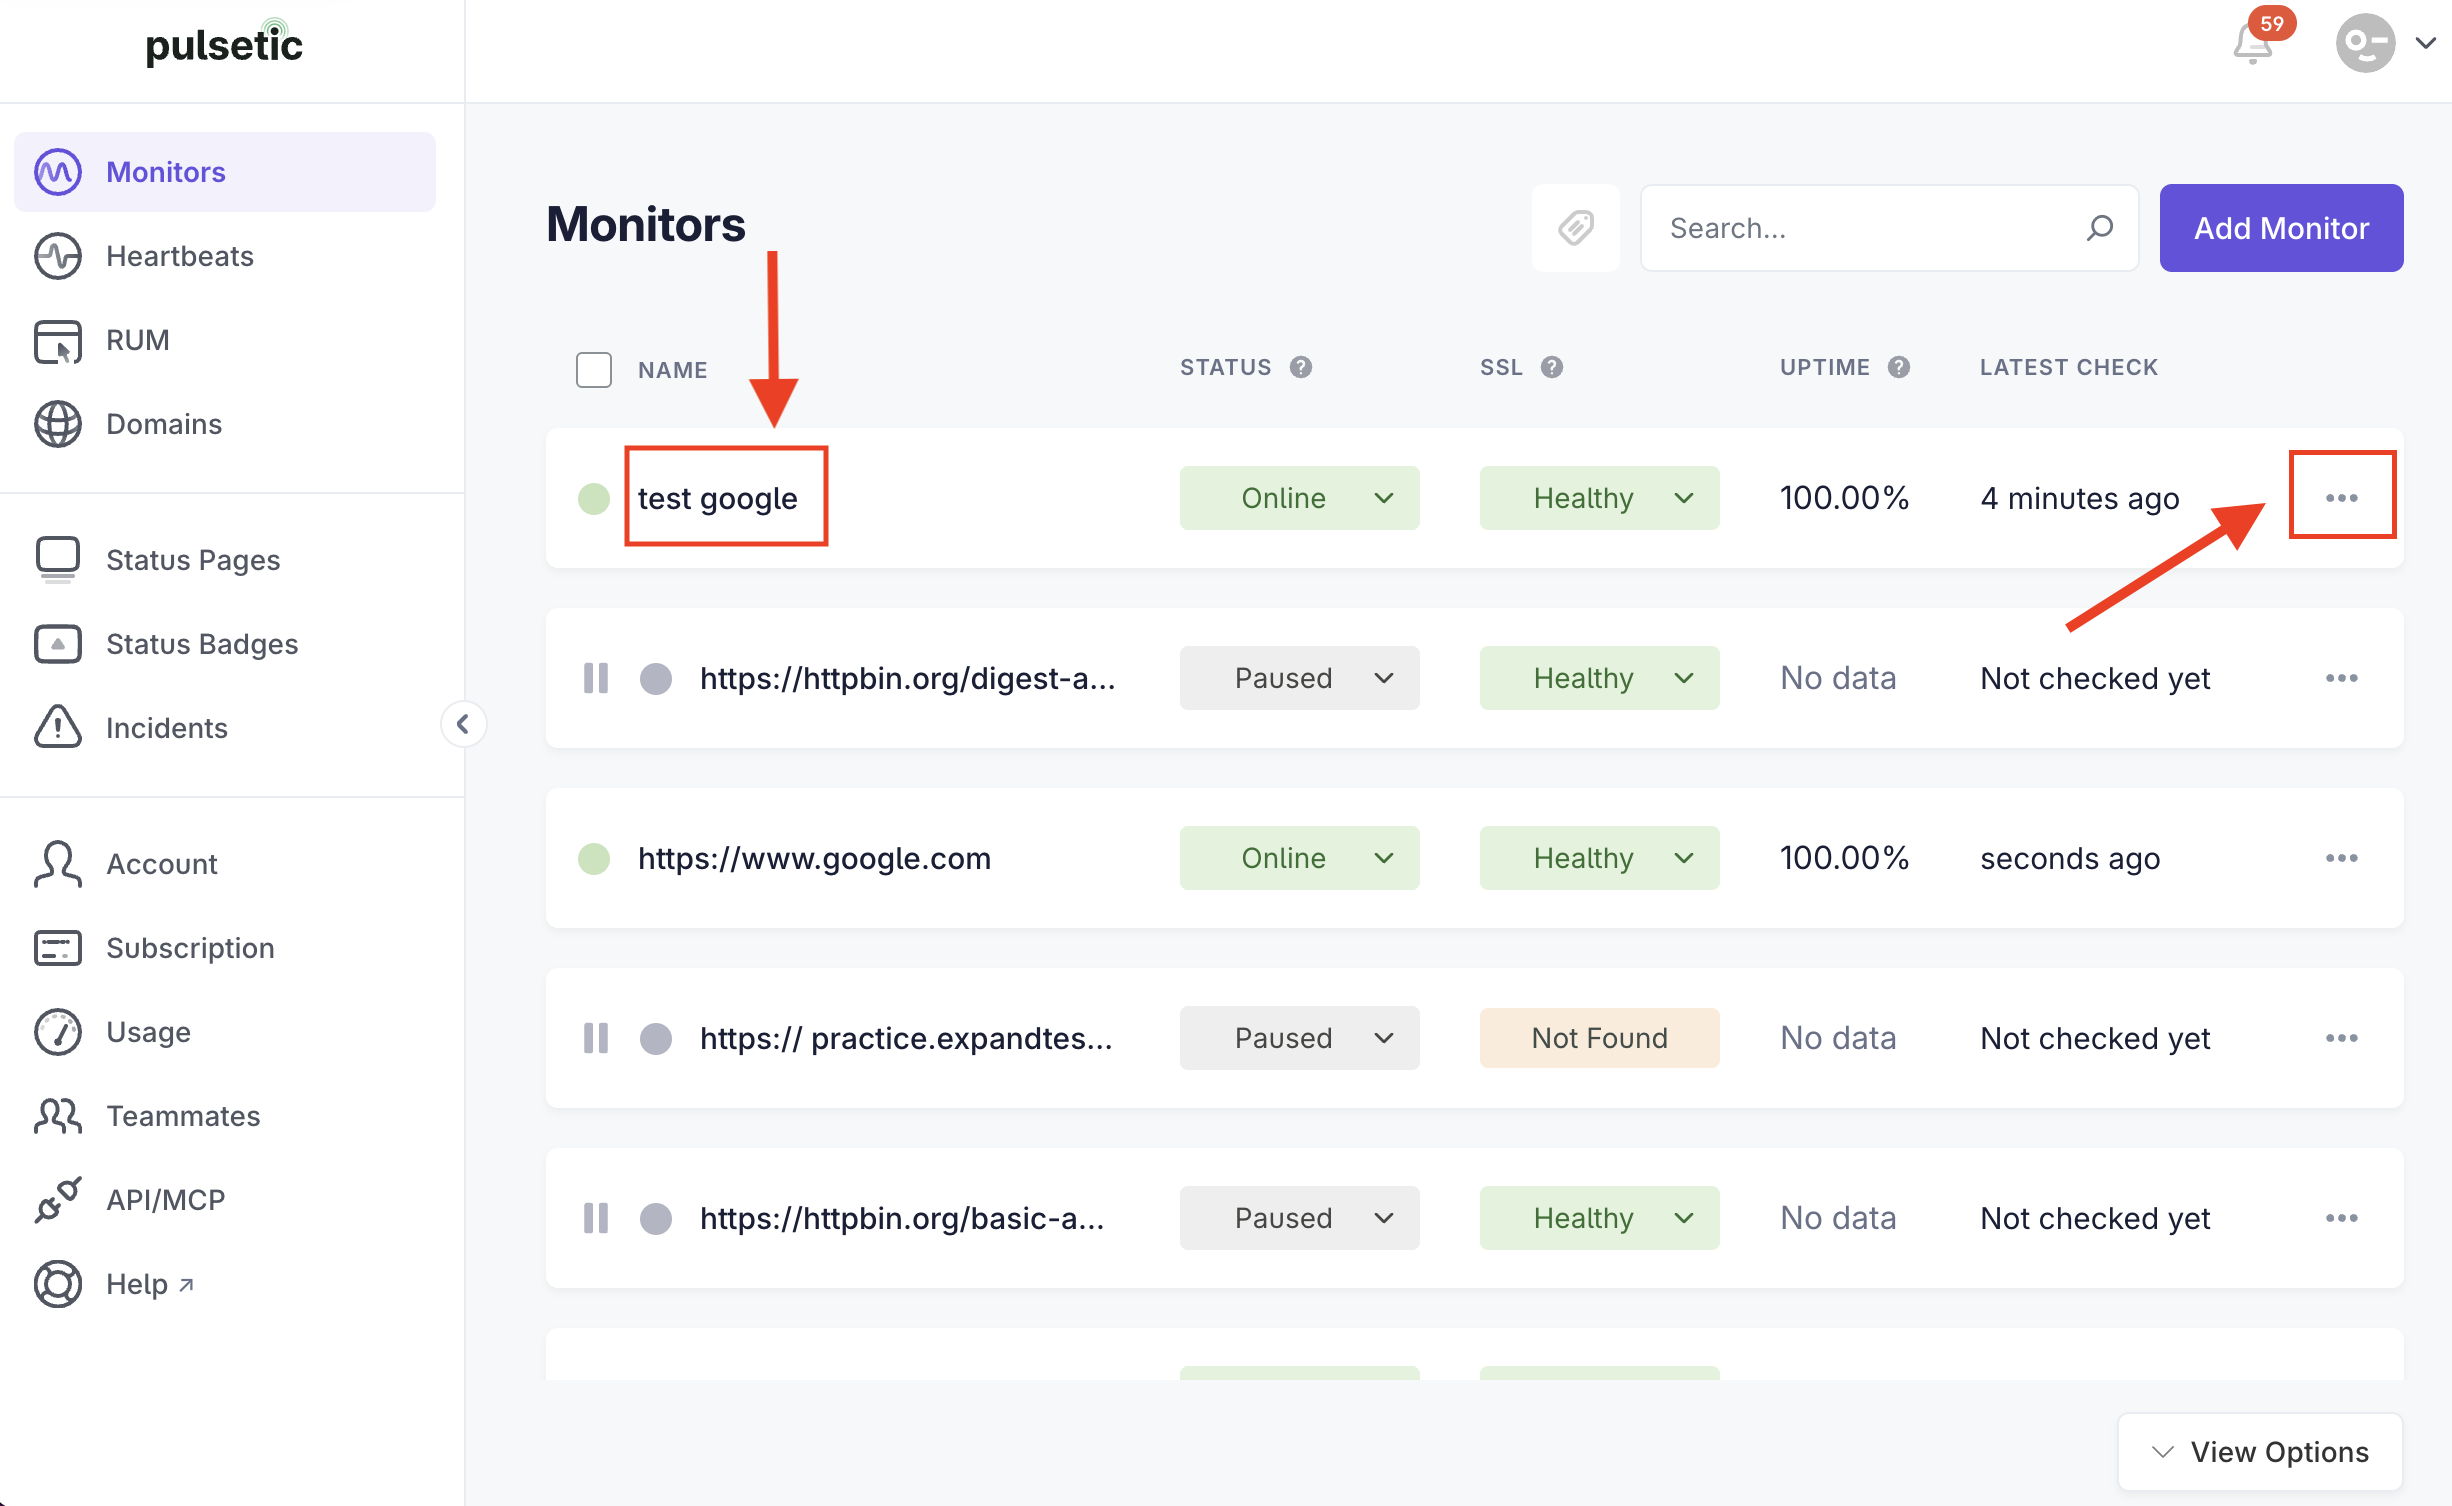
Locate monitor

Step 2: Manage Your Monitoring Locations
- Within the monitor's settings, select the Locations section.
- This section will display the currently selected monitoring locations.
- On the Monitors Locations section, select on the Monitoring switches to enable or disable the desired locations.
Note:
You'll need to enable at least three locations.
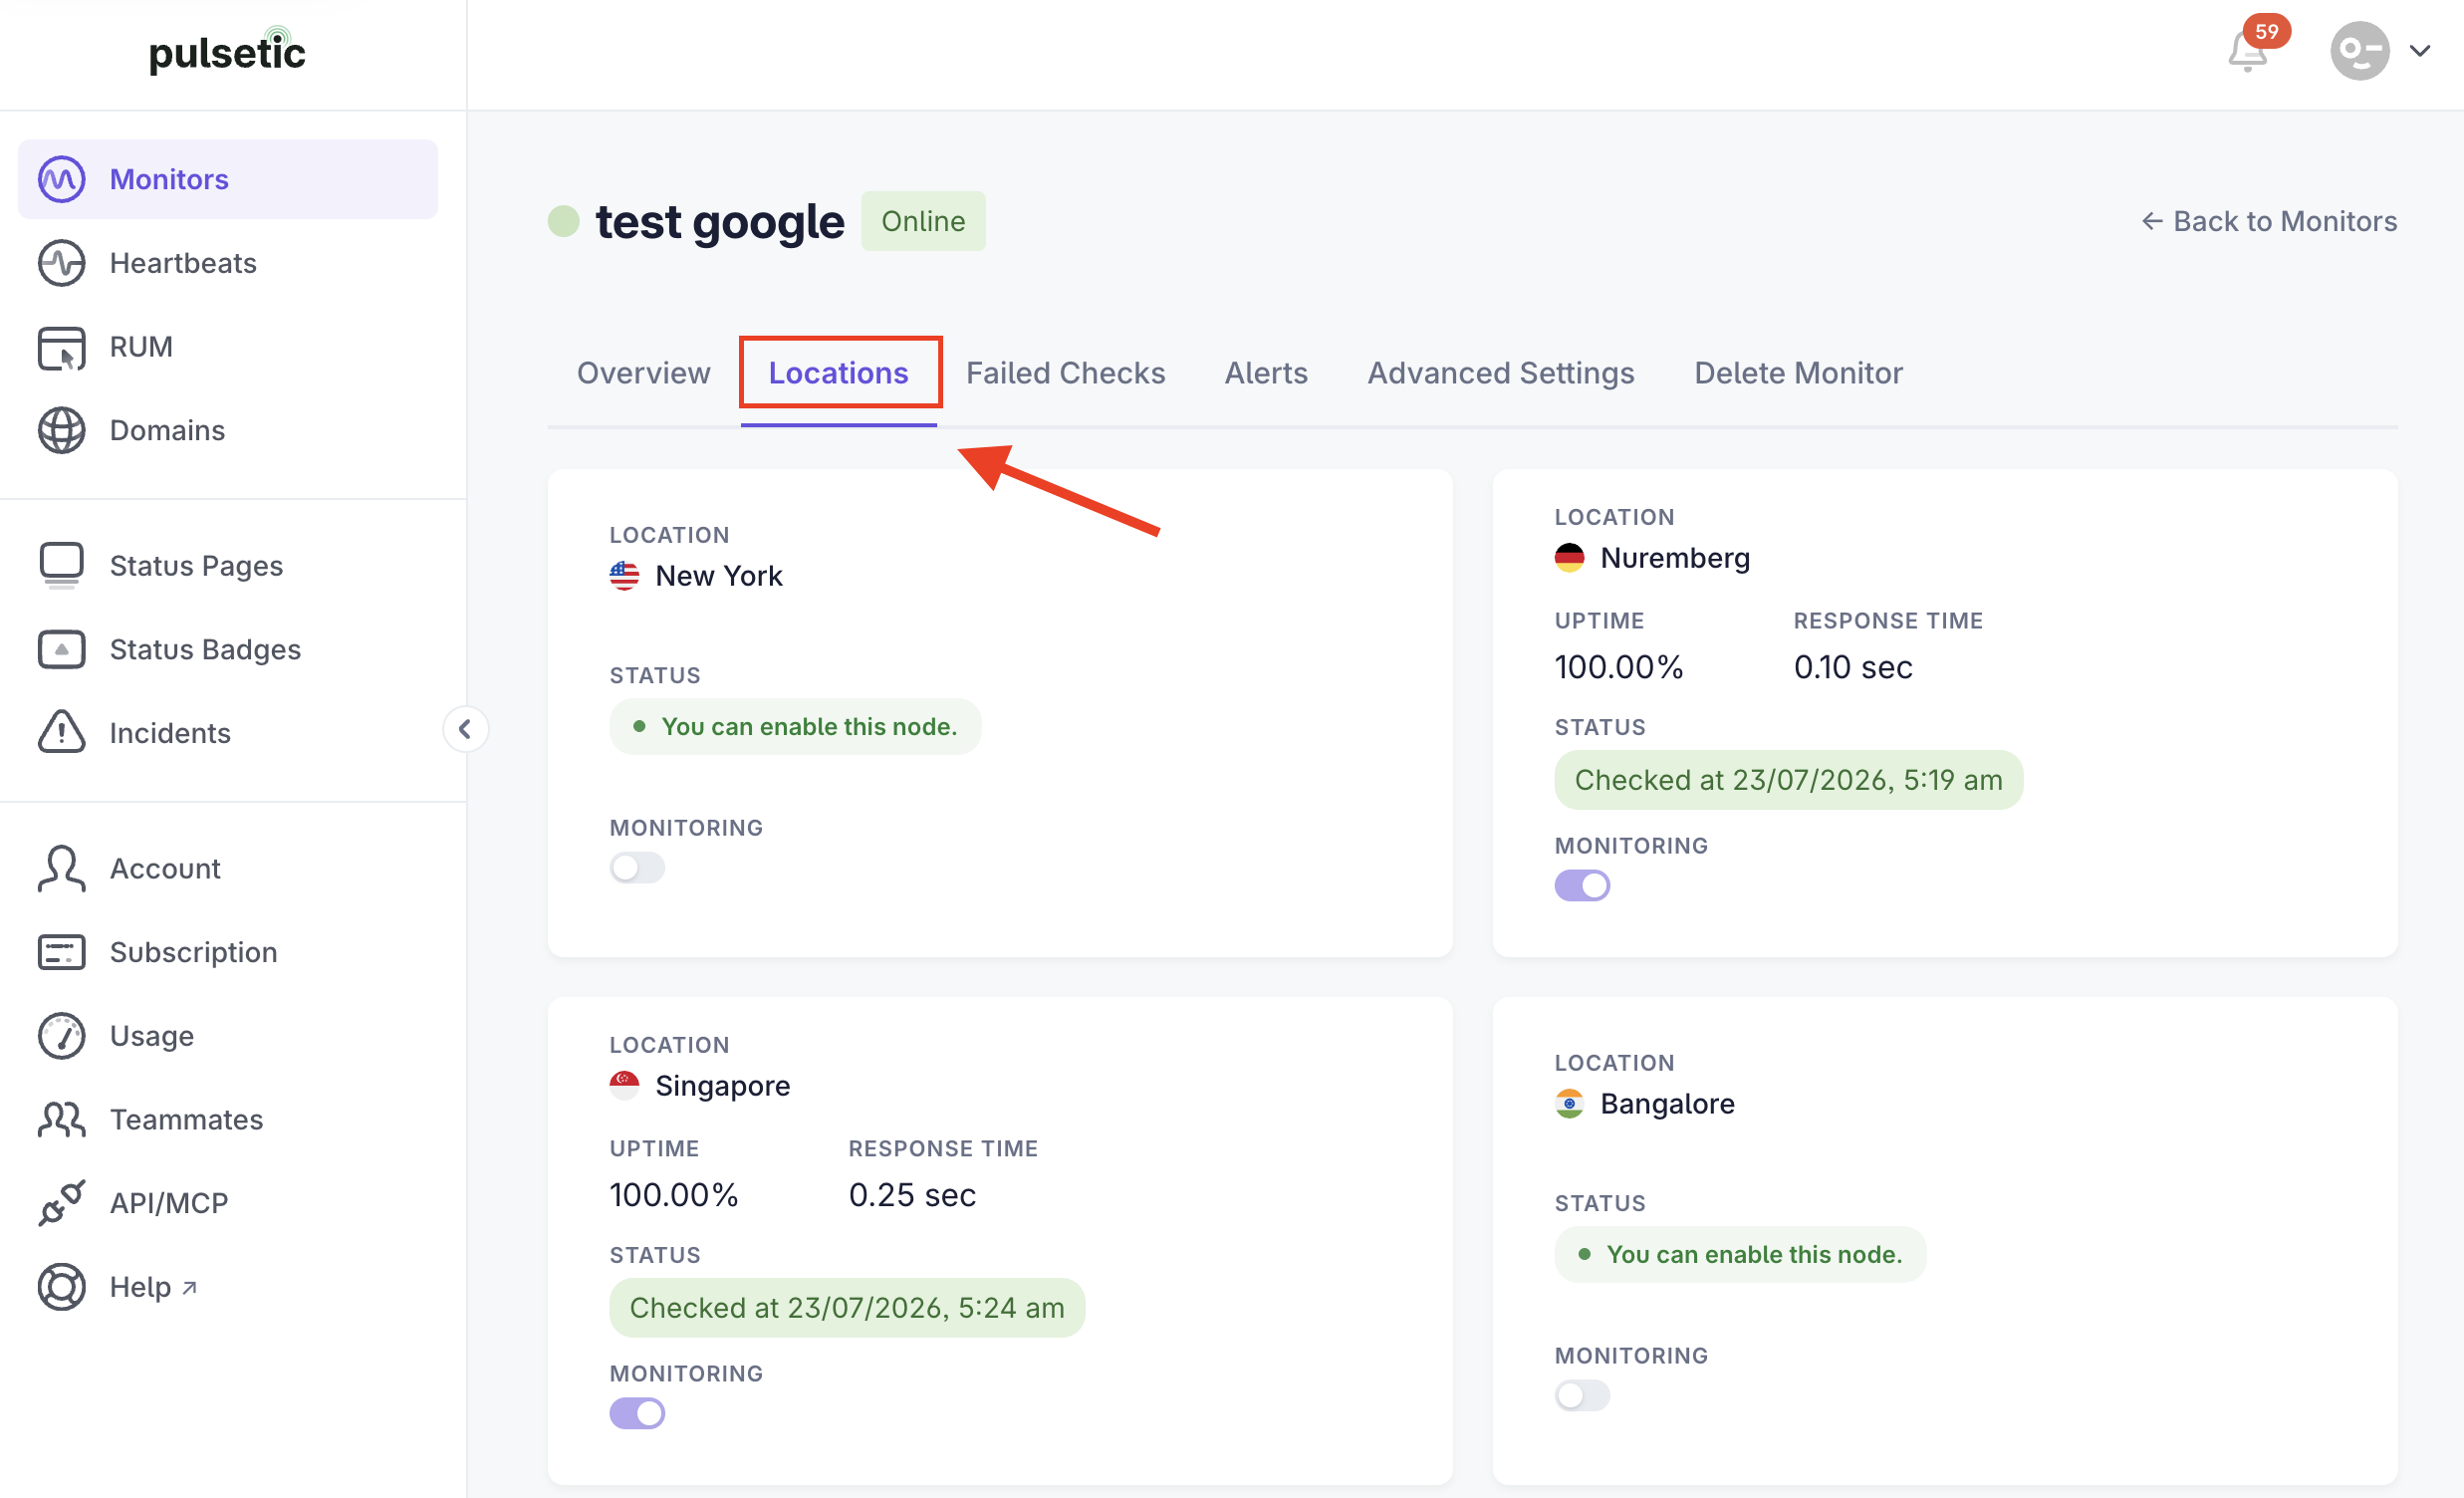
Step 3: Review Location Data
- When you enable one or more nodes, you'll see a Locations map at the bottom of the page.
- The map displays the Uptime and Response time of each location, providing a visual overview of performance.

Tips for Location Selection
- User Demographics: Choose locations where your target audience is located.
- Network Infrastructure: Consider locations with diverse network infrastructures.
- Regional Regulations: Select locations to ensure compliance with regional regulations.
- Testing: Use a variety of locations to get a comprehensive view of your resource's performance.
By following these steps, you can effectively update the monitoring locations for your Pulsetic monitors and gain a more accurate and comprehensive view of your resource's availability and performance.