Use 2FA
Enable Two-Factor Authentication (2FA) to add an extra layer of security to your Pulsetic account. 2FA requires a code from your authenticator app, along with your password, to log in.
Steps to Enable 2FA
Step 1: Navigate to 2FA Settings
- Go to 2FA: https://app.pulsetic.com/account/tfa. Alternatively, navigate to your Profile and select the 2FA tab.
- Select the Enable button.
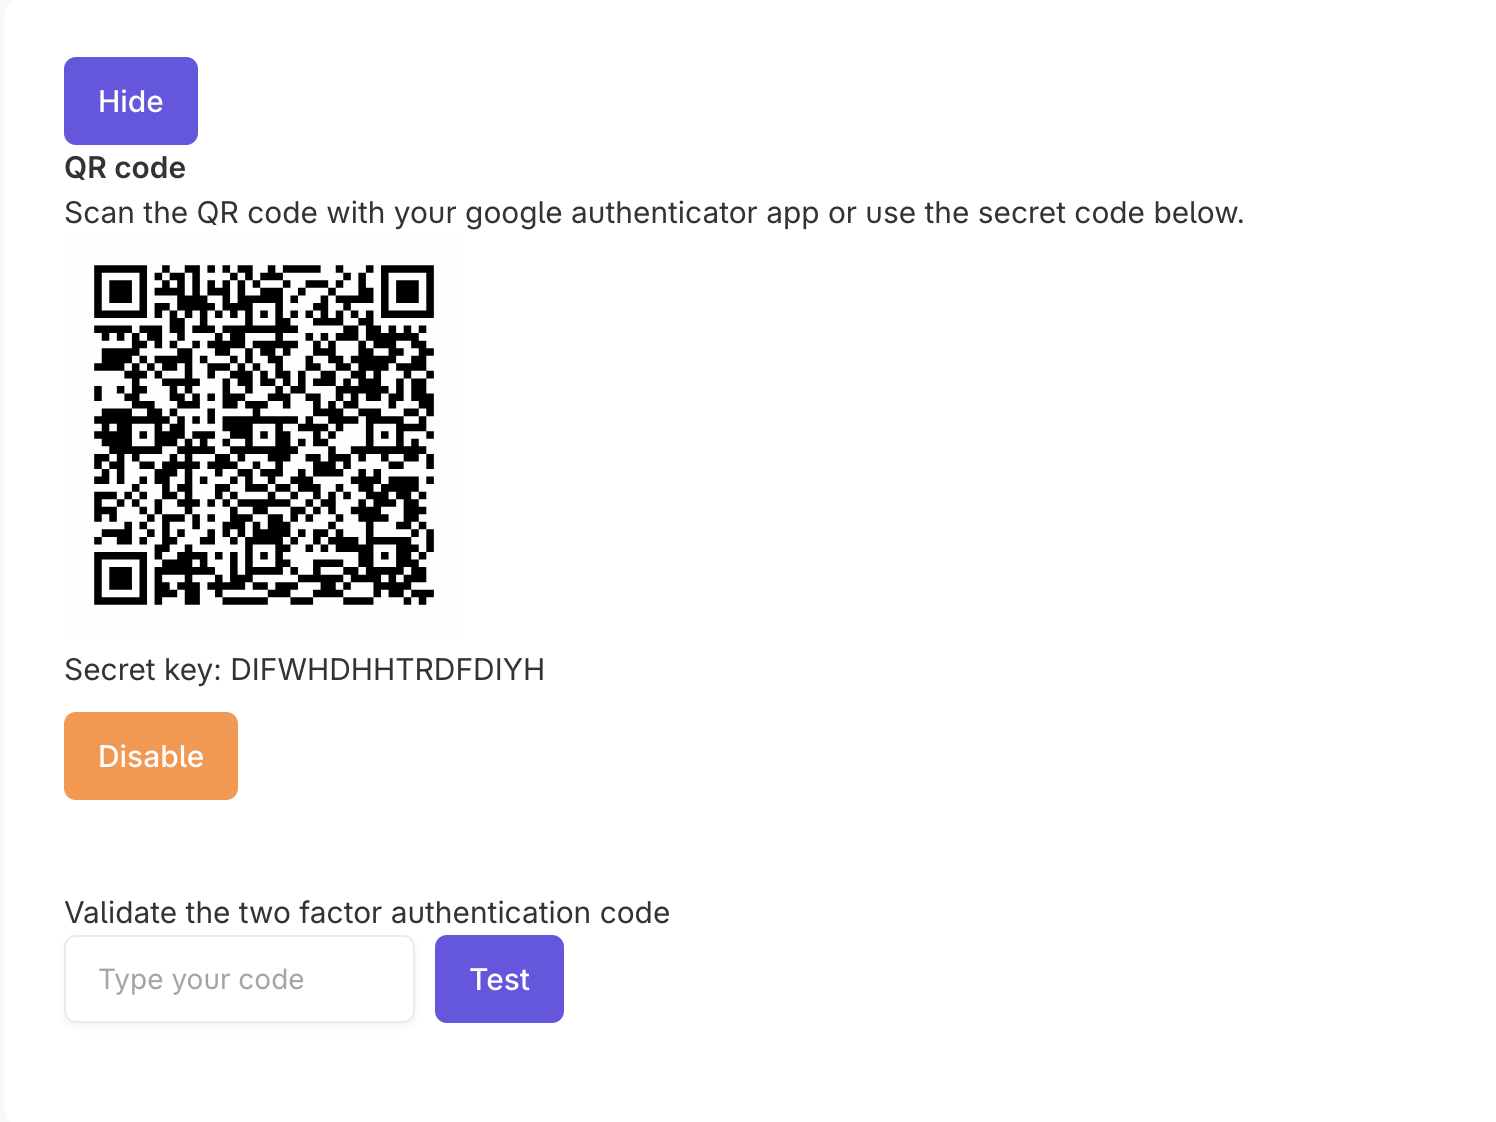
- You will be presented with the following options:
- QR Code: Scan the displayed QR code using your Google Authenticator (or any compatible authenticator) app.
- Secret Key: Alternatively, manually enter the provided secret key (e.g., 4TE65YURSVGQW3RO) into your authenticator app.
Step 2: Set up Your Authenticator App
- Pulsetic supports standard authenticator apps like Google Authenticator, Authy, Microsoft Authenticator, and others. If you don't have one installed on your smartphone, download one from your app store.
- Follow the prompts within your authenticator app to complete the setup.


- Enter the secret key or the code generated by your authenticator app into the Activate two factor authentication field and tap the Activate button.
- Your authenticator app should now generate time-based codes for your Pulsetic account.
Note:
The next time you log in to Pulsetic, after entering your email and password, you will be prompted to enter a six-digit code generated by your authenticator app. This adds a significant layer of security to your account.

Disabling 2FA
- If you ever need to disable 2FA (not recommended for security reasons), you can return to the 2FA tab in your Profile settings and tap the Disable button.