How to Add a Custom Menu to Your Status Page
When users visit your status page during an outage, they aren't just looking at the downtime—they are looking for a path forward.
Adding a custom menu to the top of your dashboard allows you to guide them exactly where they need to go. You can add up to 3 links, which are perfect for routing frustrated users to your Help Center, a direct Contact Support form, or back to your main website once the outage is resolved.
How to Set Up Your Status Page Menu
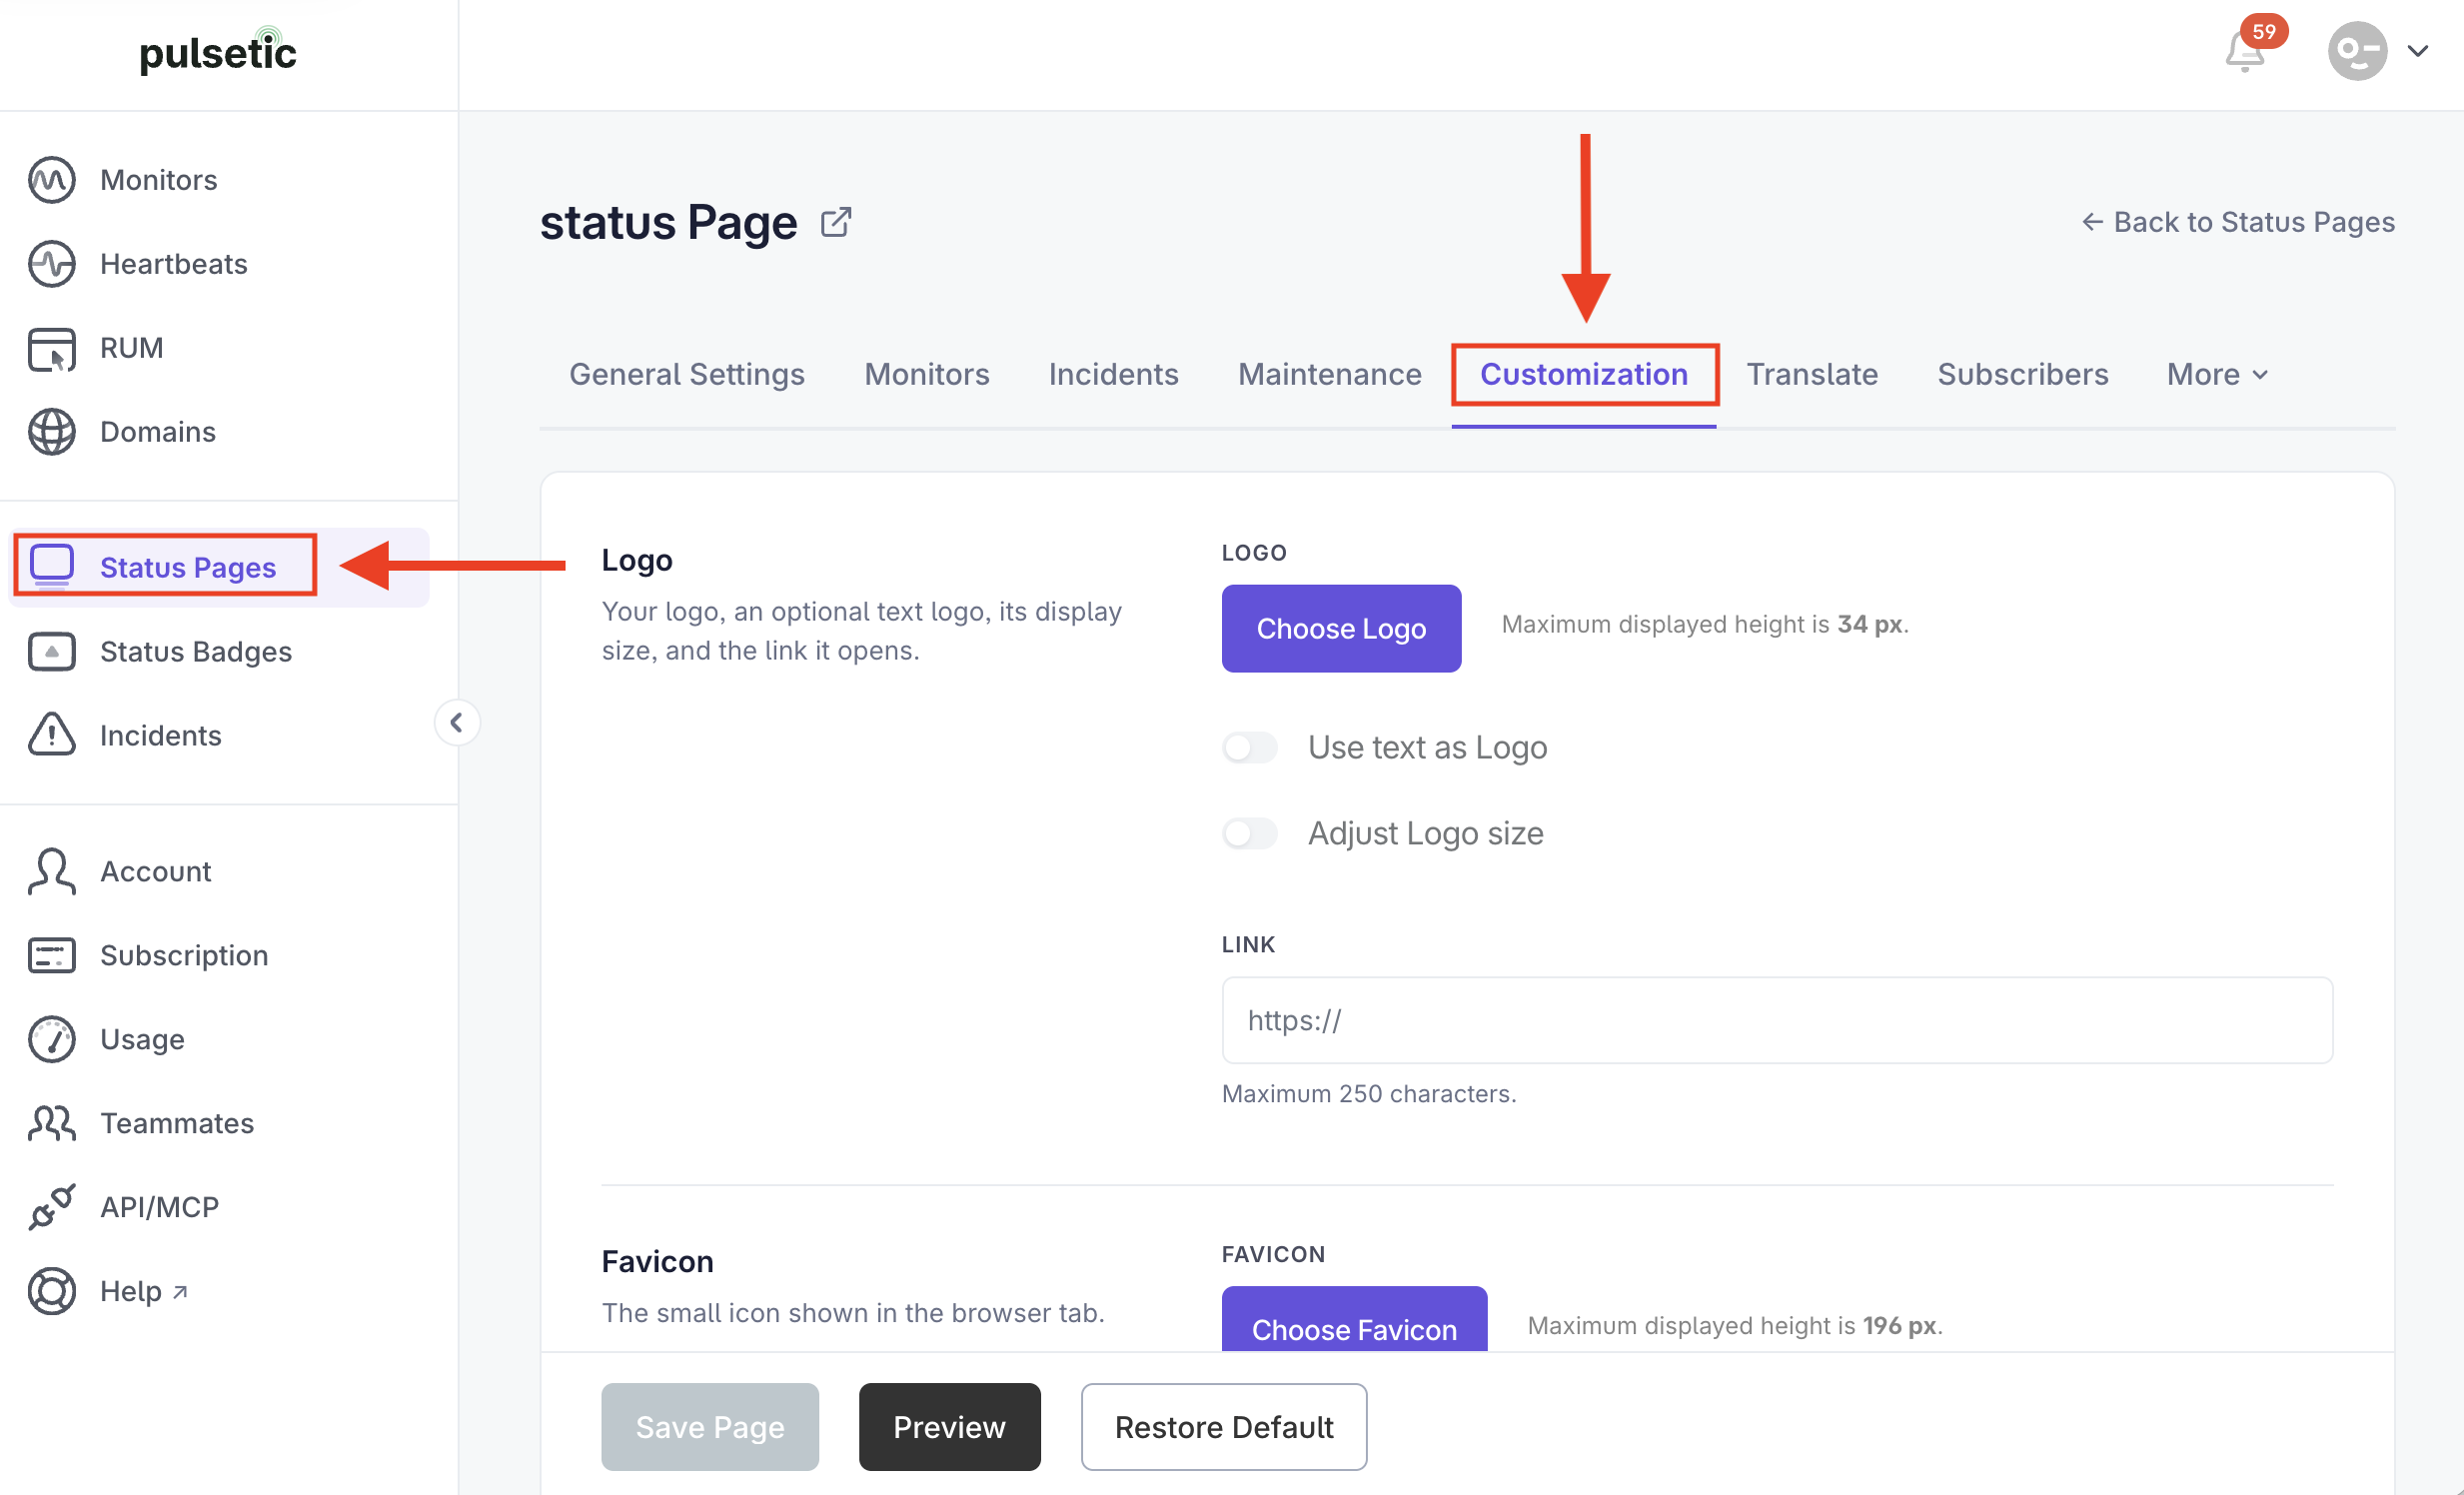
- Log in to Pulsetic and click on the Status Pages link. Find the page you want to update and select it.
-
Look at the top navigation bar inside the editor and click on the Customization tab.
-
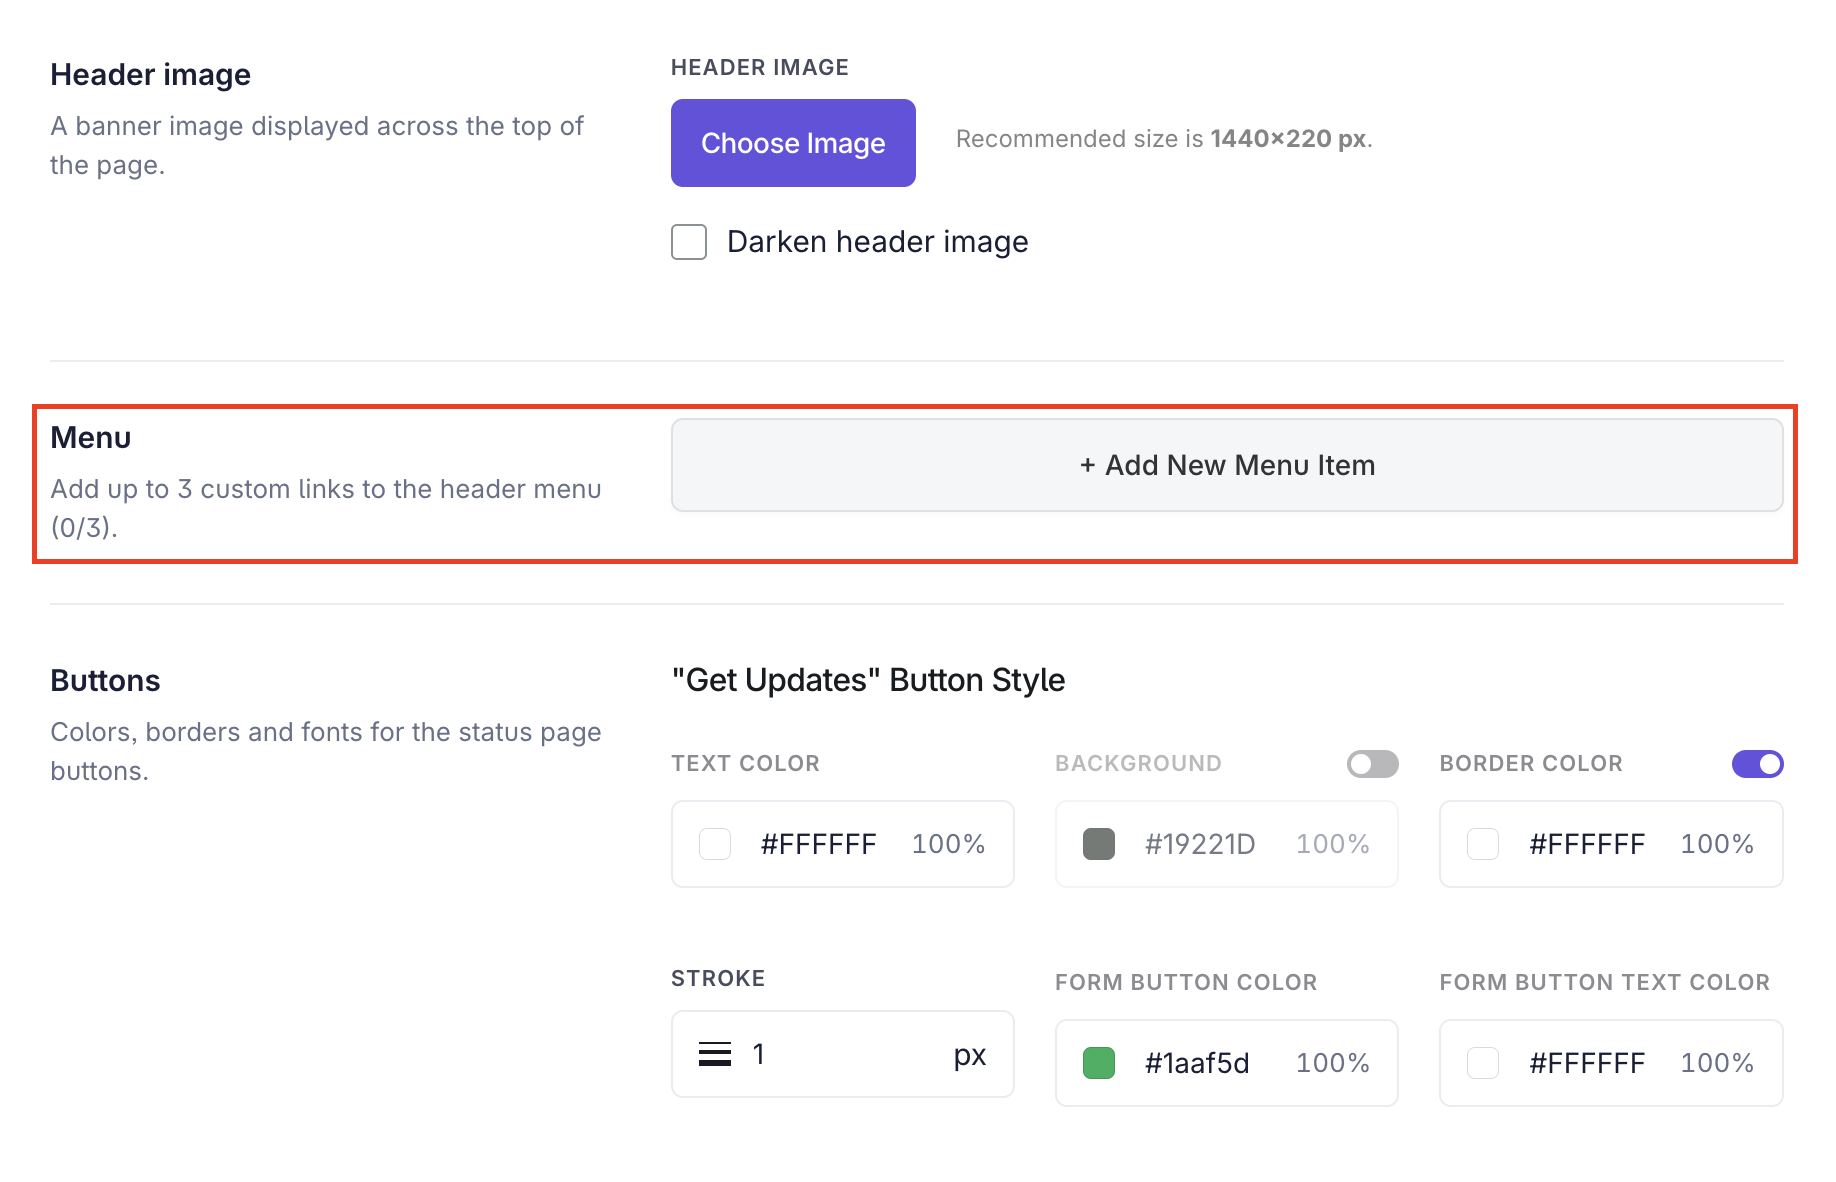
Scroll down until you see the Menu section.
-
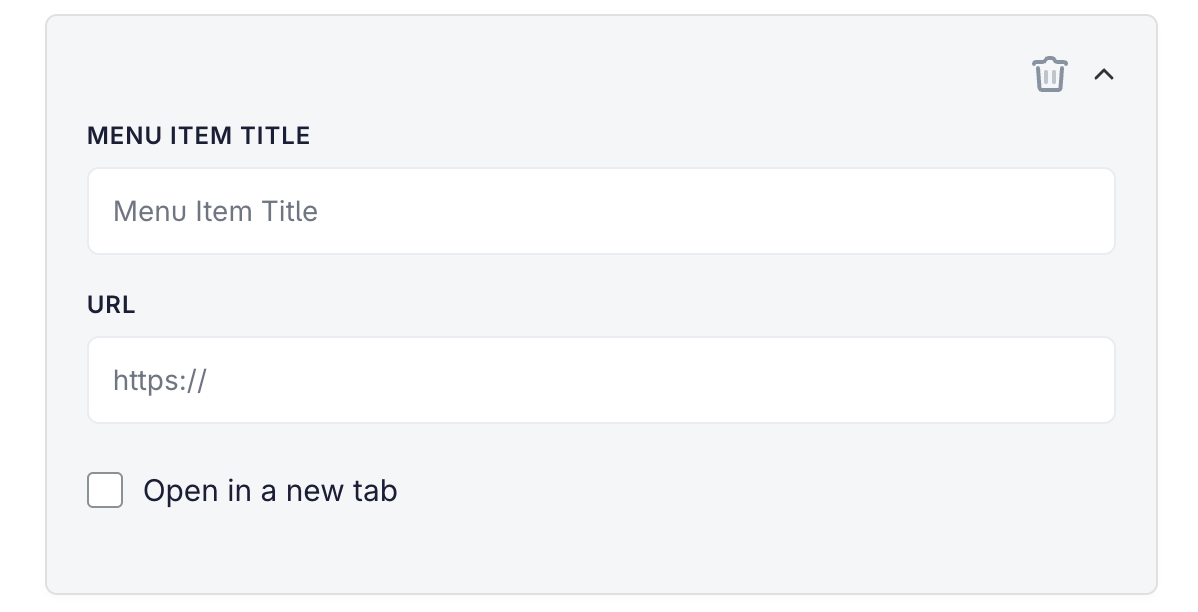
Click to add a new item. For each link, enter a short Menu Item Title (like "Help Center") and the exact URL. Keep titles short so they look clean on mobile devices.
- To see how your new links look before committing, click the Preview button to view your changes.
- Once you have entered your links, click Save Page at the bottom right of the screen.


Note:
Pulsetic limits this to a maximum of 3 links. Make sure you prioritize the URLs that matter most to a user during an outage.