How to Publish Incidents
You can publish and update Incidents on each of your Status Pages. Incidents can have different statuses, and you can also include the details of each incident. This tutorial will guide you through the process of creating and publishing an incident.
Step-by-Step Tutorial
Step 1: Find and Select Your Status Page
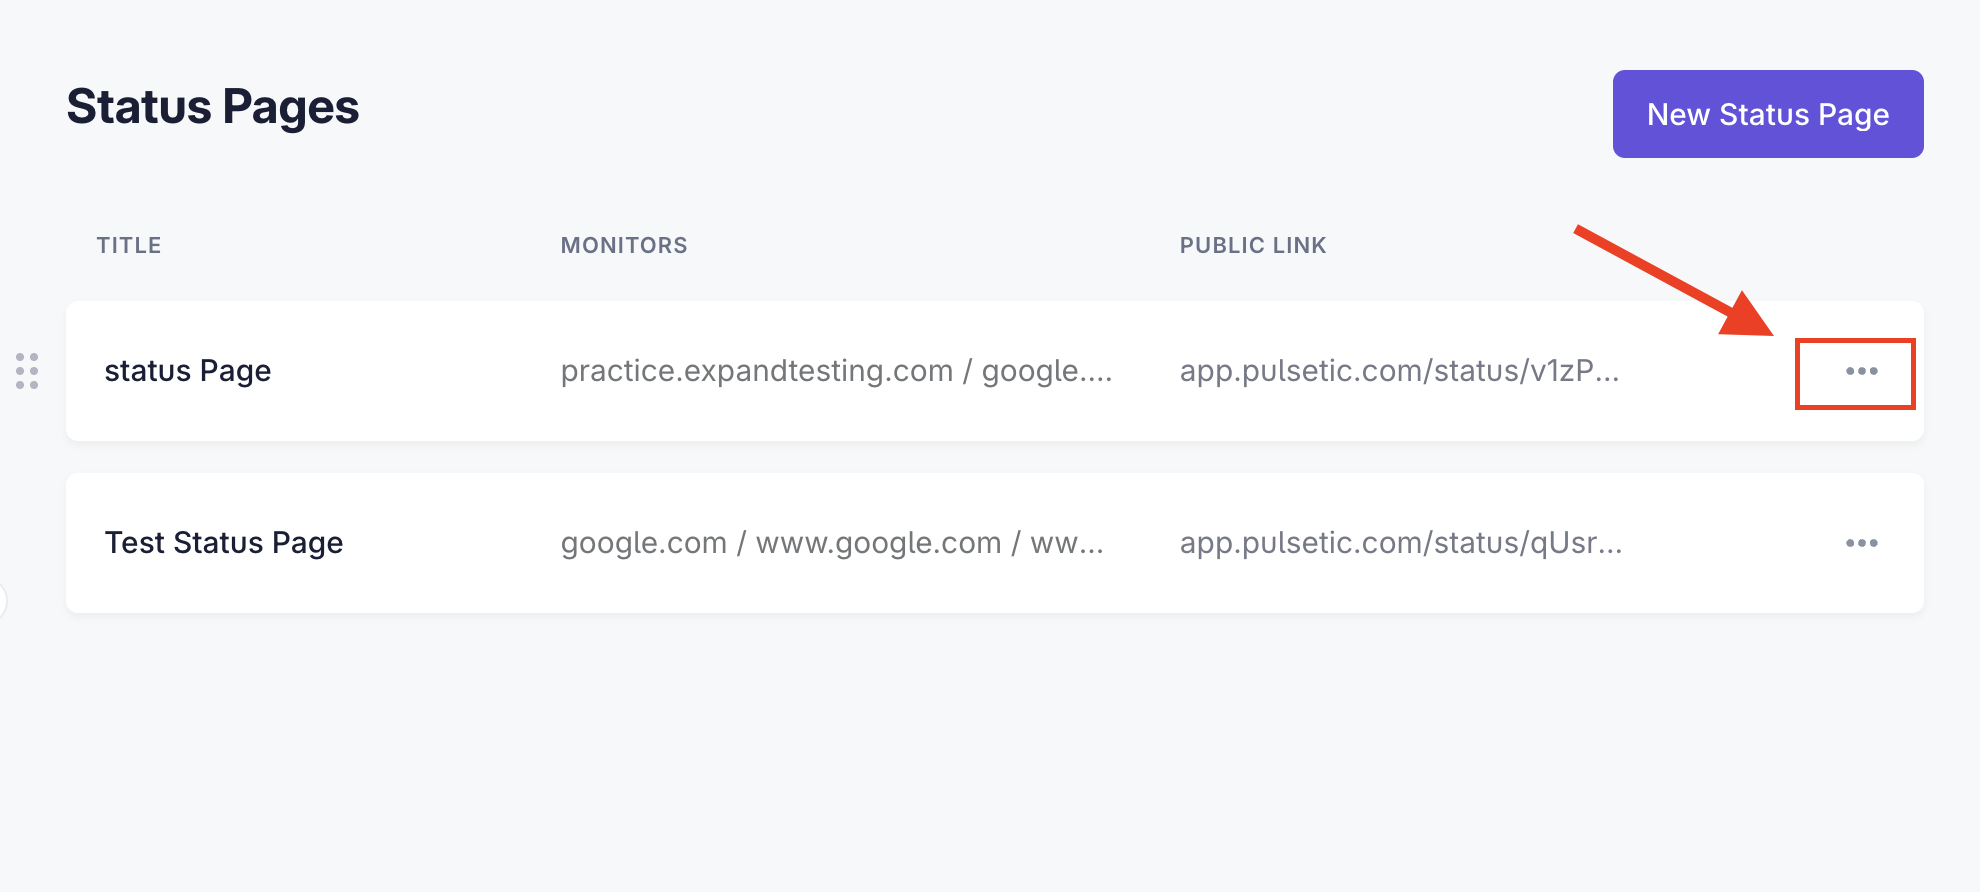
- Navigate to the Status Pages section.
-
Select the status page you want to customize and tap on the name. Alternatively, select the three dots (···) next to the Public Link information of the status page you want to update.
-
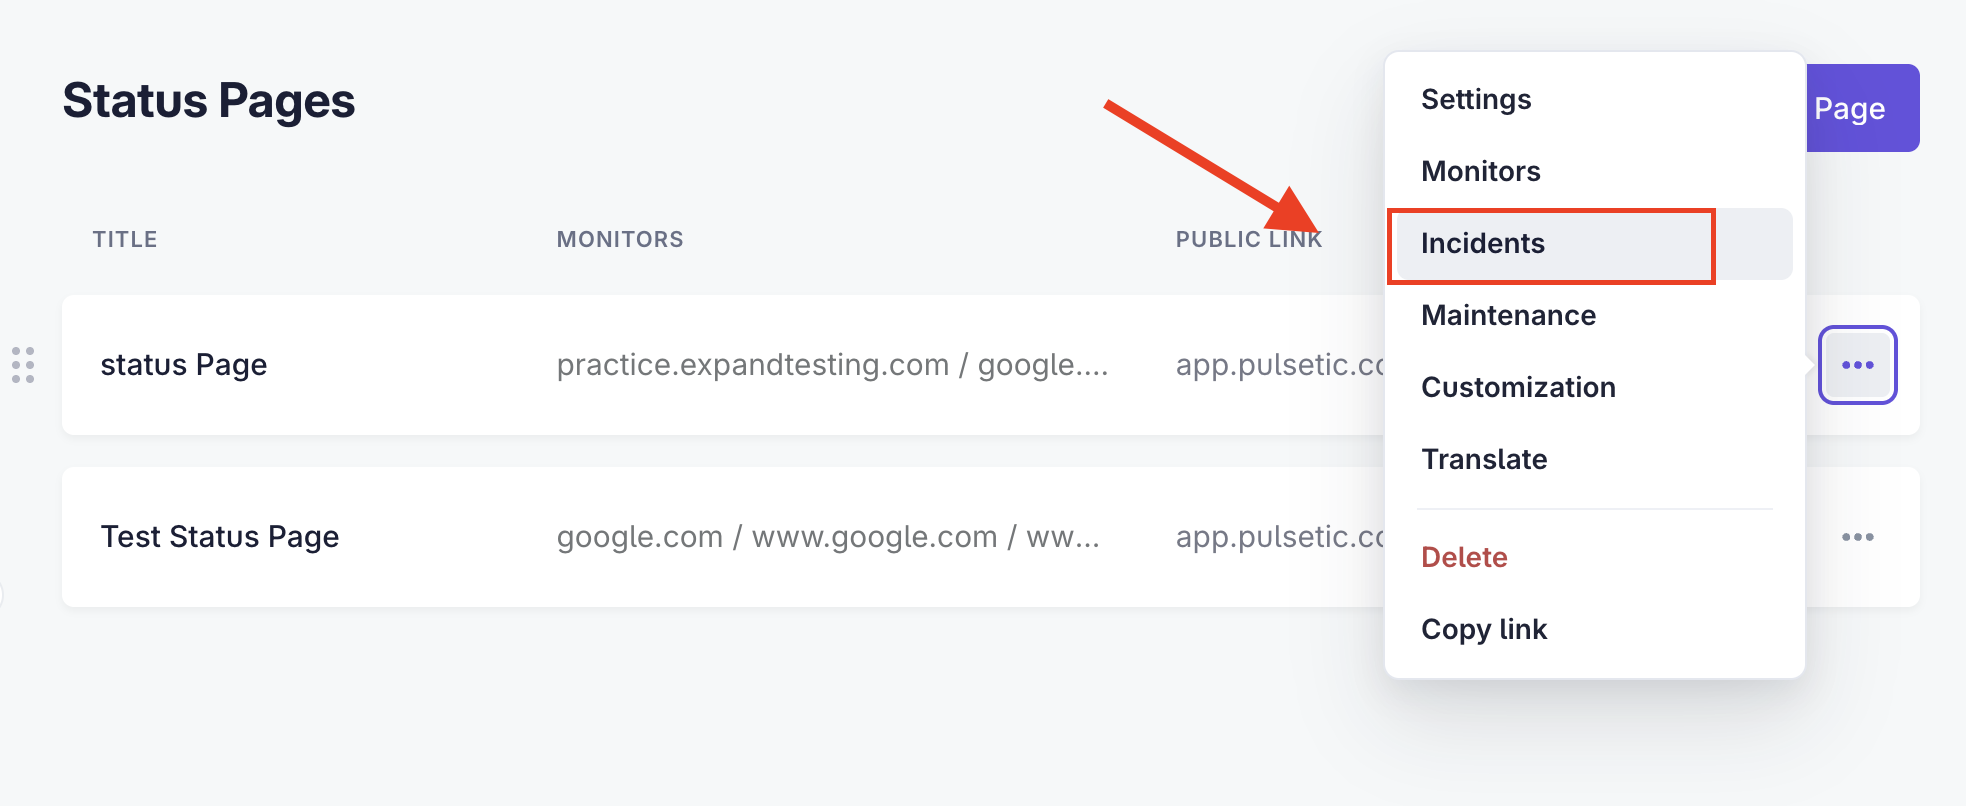
Select the Incidents option.


Step 2: Add a New Incident
- Select the New Incident button, and a New Incident tab will pop up.
- Add a Title, Status, Date, and Message. The information you add here will be publicly visible. The Status has 4 options:
- Exploring: You're currently looking into it.
- Identified: You've identified the issue, and you're working on fixing it.
- Update: You have an update regarding this issue.
- Resolved: The issue has been resolved and the incident workflow has ended.

Step 3: Publish the Incident
- Select Publish.
-
Go back to the Status Pages dashboard and tap on the Public Link of your status page.

- Here is your published incident found in the status page.


Incidents on the status page are usually automatically moved to the history page after 30 days.