Create a Status Page
Share the real-time health of your websites and services with your users by creating a Status Page in Pulsetic. Creating a new status page in Pulsetic is straightforward. Configure the general settings to match your needs, and then share the public link with your users.
How to Create a New Status Page
Step 1: Start Creating a Status Page
- Type https://app.pulsetic.com/status-pages or navigate to the Status Pages section in your Pulsetic dashboard.
- If you're creating your first status page, select Add Status Page. Otherwise, select the New Status Page.

Step 2: Configure the General Settings
- On the new status page, enter the following settings:
- Title:
- Give your status page a name.
- Custom domain name (Optional):
- If you want to use your domain (like
status.yourwebsite.com), enter it here. - You'll need to create a CNAME DNS record pointing to
app.pulsetic.com. - Note: It might take a little longer for your page to load the first time due to SSL certificate setup.
- If you want to use your domain (like
- Custom additional domain name (Optional):
- If you want your status page to open using the www. domain address, we recommend that you set up the additional domain name as well.
- You can also use any other second domain name you prefer.
- Note: It might take a little longer for your page to load the first time due to SSL certificate setup.
- Custom meta title (Optional):
- Enter a custom title for the page that appears in browser tabs and search results.
- Title:

Step 3: Add reCAPTCHA (Optional)
- Site key: Enter your reCAPTCHA site key.
- Secret key: Enter your reCAPTCHA secret key.
- This helps prevent spam on your status page's contact form.

Step 4: Configure Optional Settings
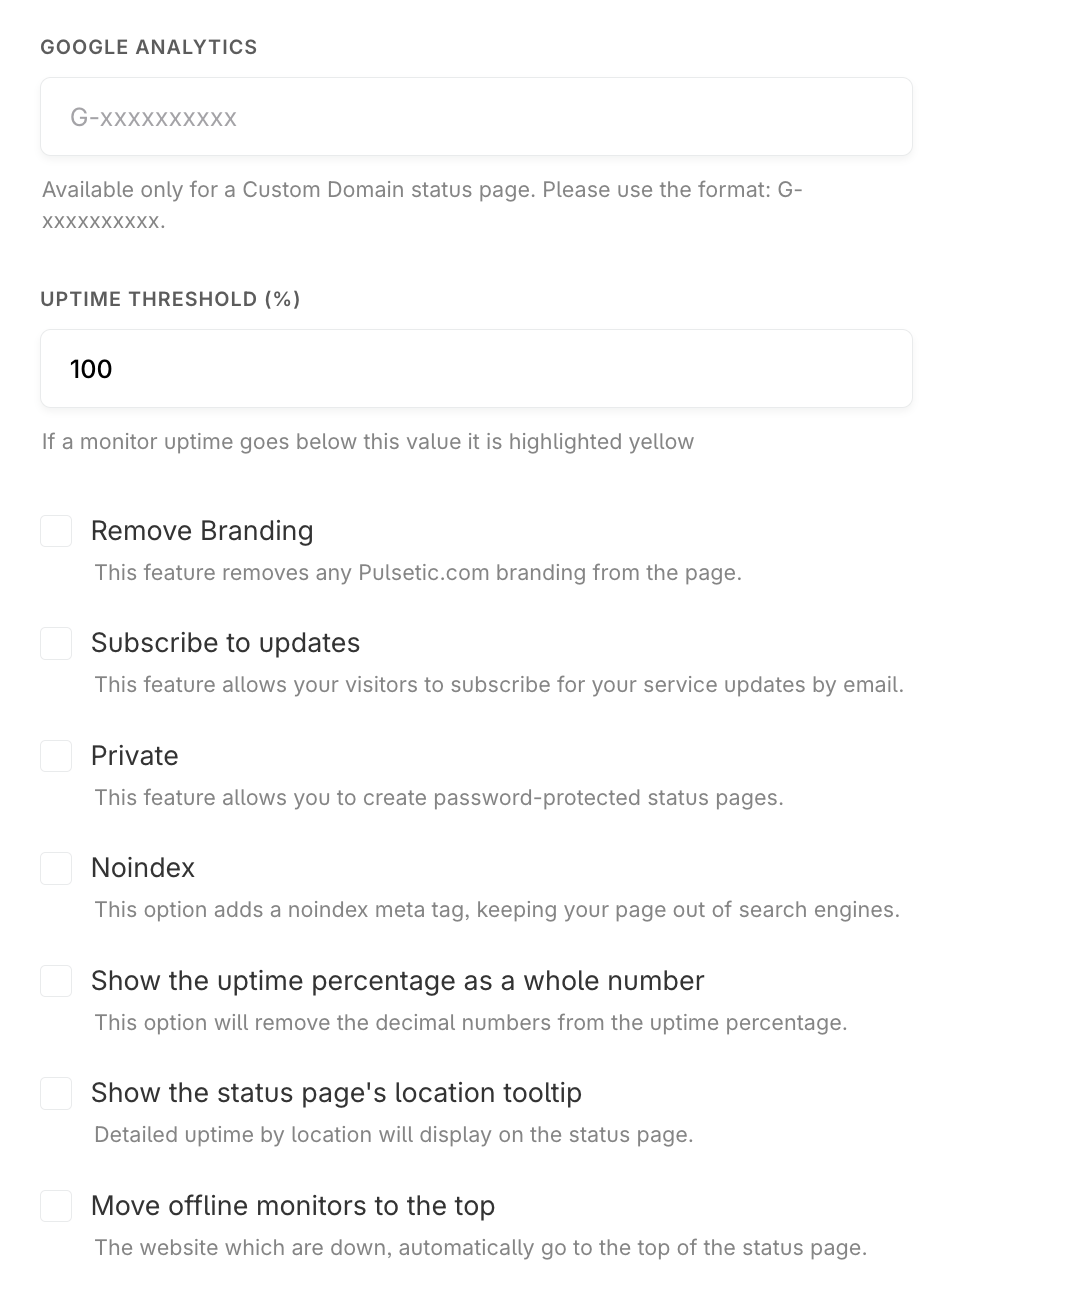
- Uptime Threshold (%):
- Set a percentage. Monitors with uptime below this will be highlighted in yellow.
- Google Analytics (Custom Domain Only):
- Add your Google Analytics tracking ID (format: G-xxxxxxxxxx). You can see status page analytics directly in your Google Analytics account.
- Remove branding:
- Turn this on to remove Pulsetic logos from your status page.
- Subscribe to updates:
- Turn this on to allow visitors to subscribe to updates via email. Then the option to subscribe to updates is activated. An additional button appears on the status page called "Manage Subscription", which helps your subscribers to unsubscribe from your status page and stop receiving incident alerts.
- Private:
- Turn this on to password-protect your Status Page. You will be prompted to enter a password.
- Noindex:
- Turn this on to prevent search engines from indexing your page.
- Show the uptime percentage as a whole number:
- Turn this on to display uptime percentages without decimal points.
- Show the status page's location tooltip:
- Turn this on to display detailed uptime information by location.
- Move offline monitors to the top:
- Turn this on to display offline monitors at the top of the page.
Step 5: Save or Cancel
Save: Click Save to create the status page with your settings.
Cancel: Click Cancel to cancel the process without creating a page.

Next steps: