IP Monitoring
When you monitor an IP address with Pulsetic, the system primarily performs a basic "ping" (ICMP Echo Request) to determine if the IP is reachable and responding. This provides a fundamental level of uptime monitoring for your IP-based resources.
Steps to Set Up IP Monitoring
Step 1: Add a New Monitor
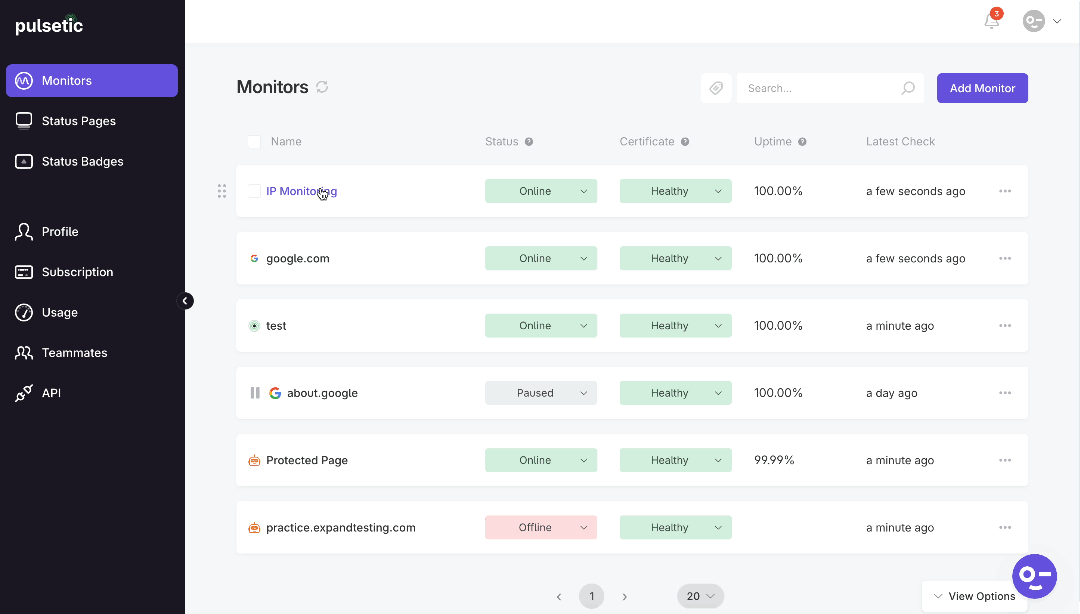
- Navigate to the Monitors section in your Pulsetic dashboard.
- Click on Add Monitor (if it already exists, go directly to Step 2).
- Type the IP address that you want to monitor, then select Add Monitors.

Step 2: Access Advanced Settings
- In the added monitor, go to the Advanced Settings tab.
- Within the Request Settings section, locate the Request Type dropdown menu and select ICMP.
- Hit the Update button to apply your changes.
Note:
When you first add the monitor, it might be marked as failed. This is because our system defaults to HTTP checks. However, once you’ve configured the settings to monitor via ICMP or TCP, the status should update to reflect the actual availability of your VPS.
How it Works
Once you save the settings, Pulsetic will start sending ICMP "ping" requests to the IP address you specified.
- If the IP address responds to the ping, the monitor will be marked as "Online."
- If the IP address does not respond, the monitor will be marked as "Offline," and you will receive alerts based on your notification settings.