How to Add a Monitor to a Status Page
Displaying monitor status on your status page provides transparency and keeps users updated on service availability. This tutorial will guide you through adding monitors to your status page layout.
Adding a Monitor to a Status Page
Step 1: Locate the Status Page and Add Monitor
- Navigate to Status Pages from the sidebar.
-
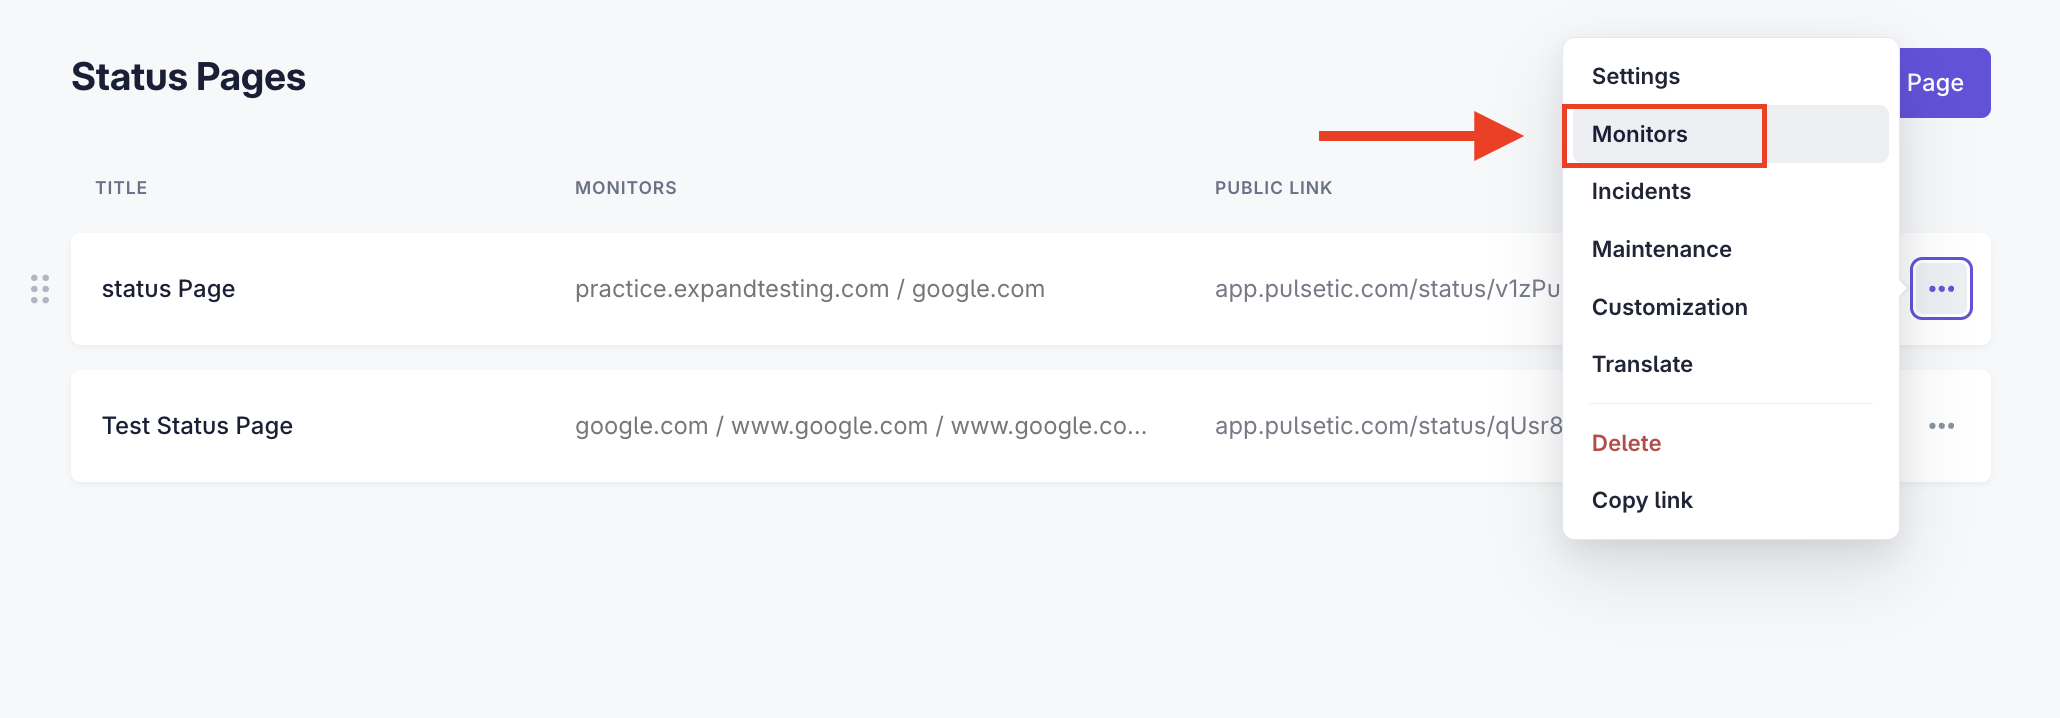
Select the status page you want to update by tapping its name, then click on the Monitors tab. Alternatively, click the three dots (···) next to the Public Link and select Monitors from the dropdown. Both actions will redirect you to the Monitors section.
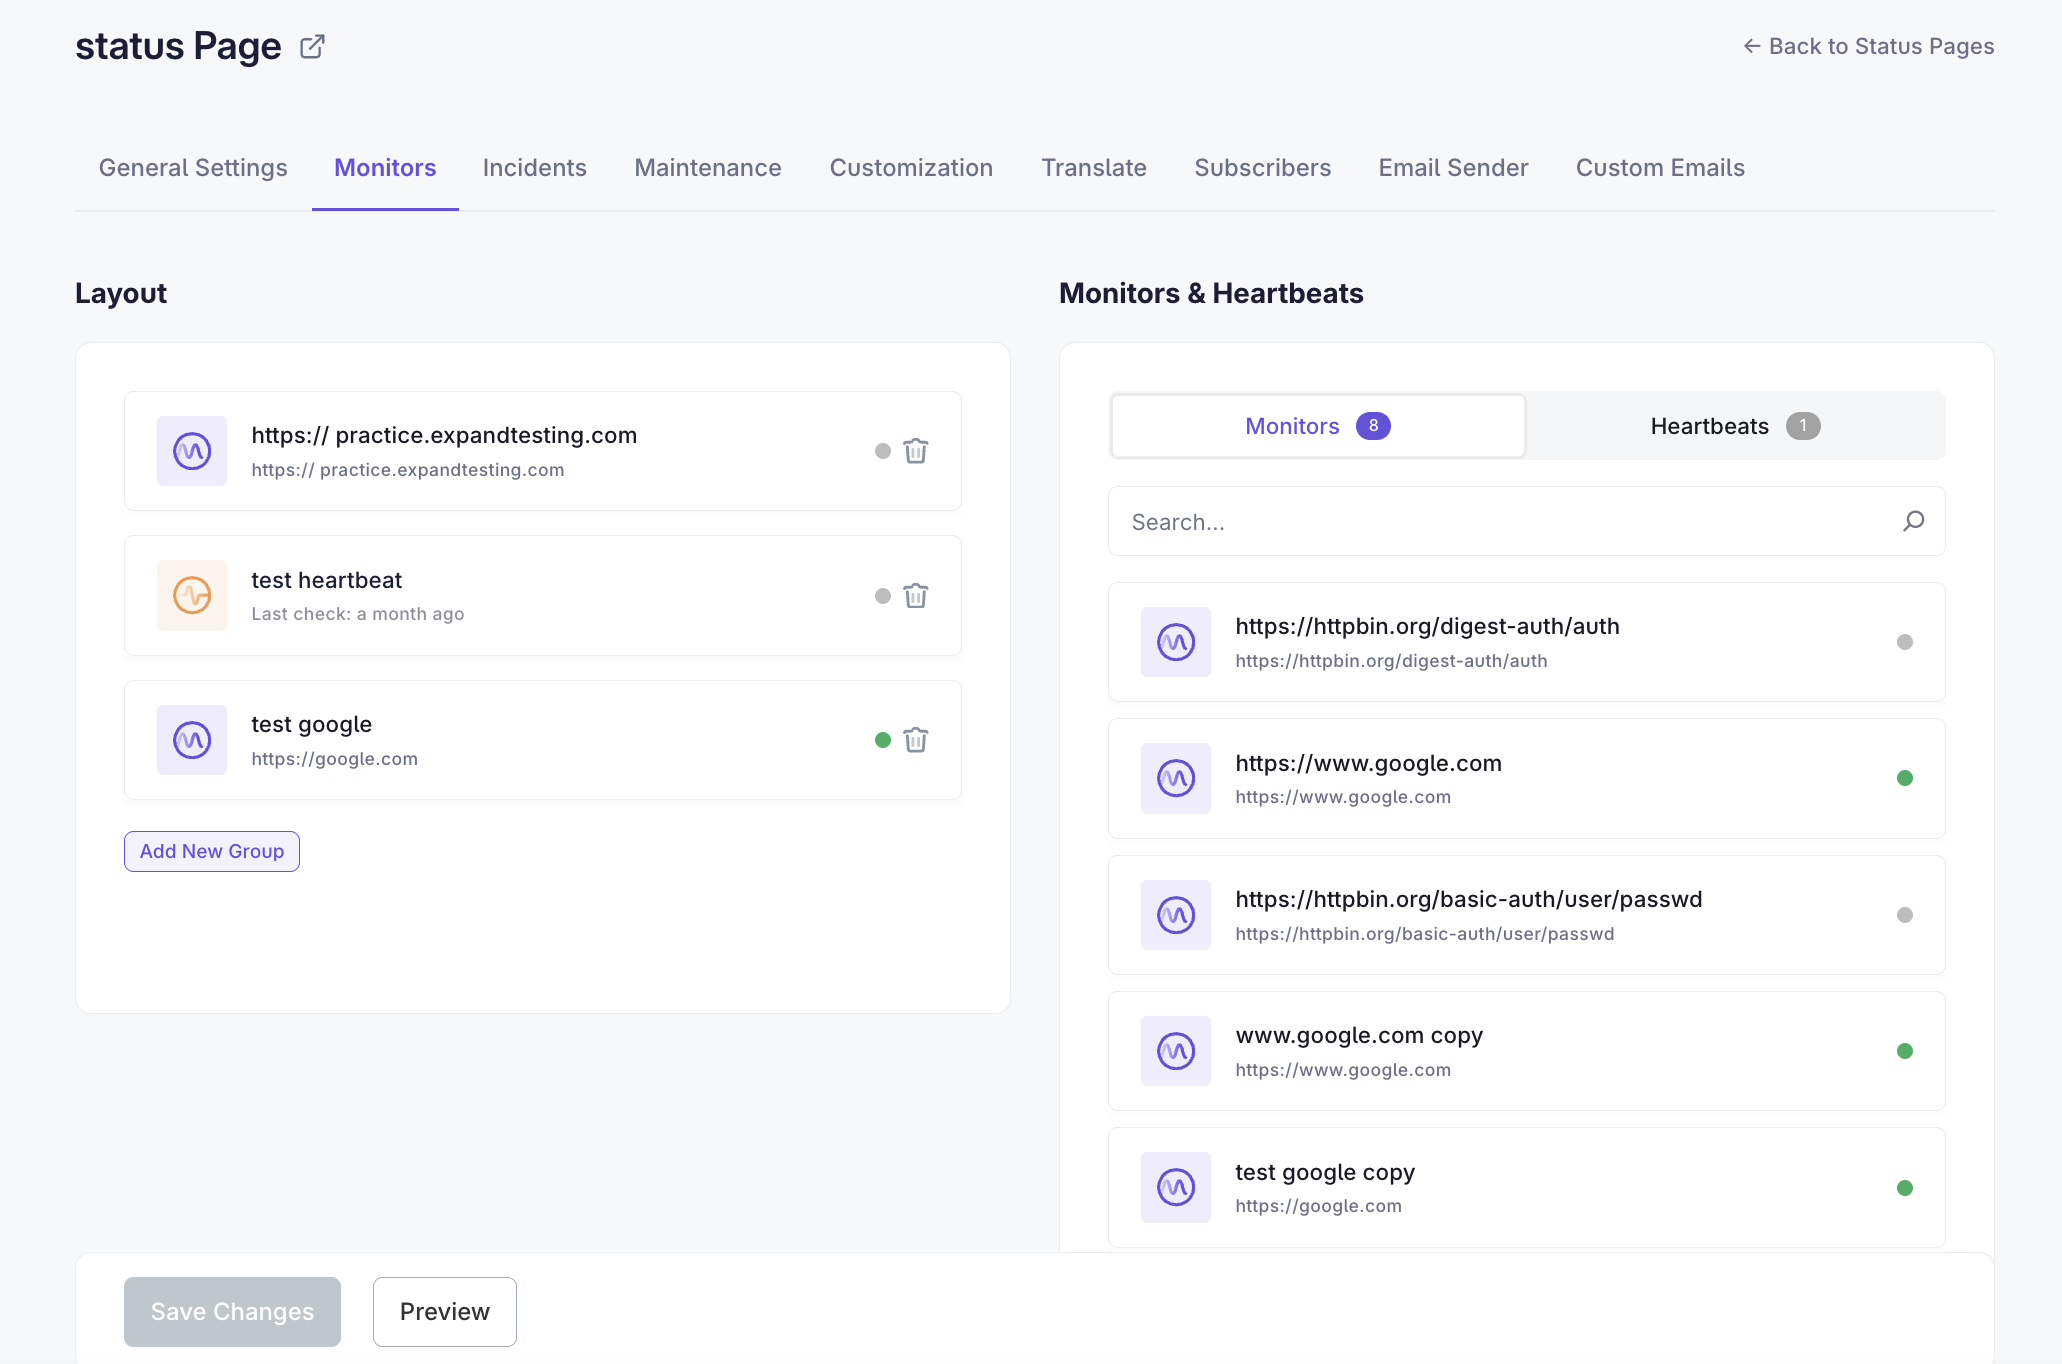
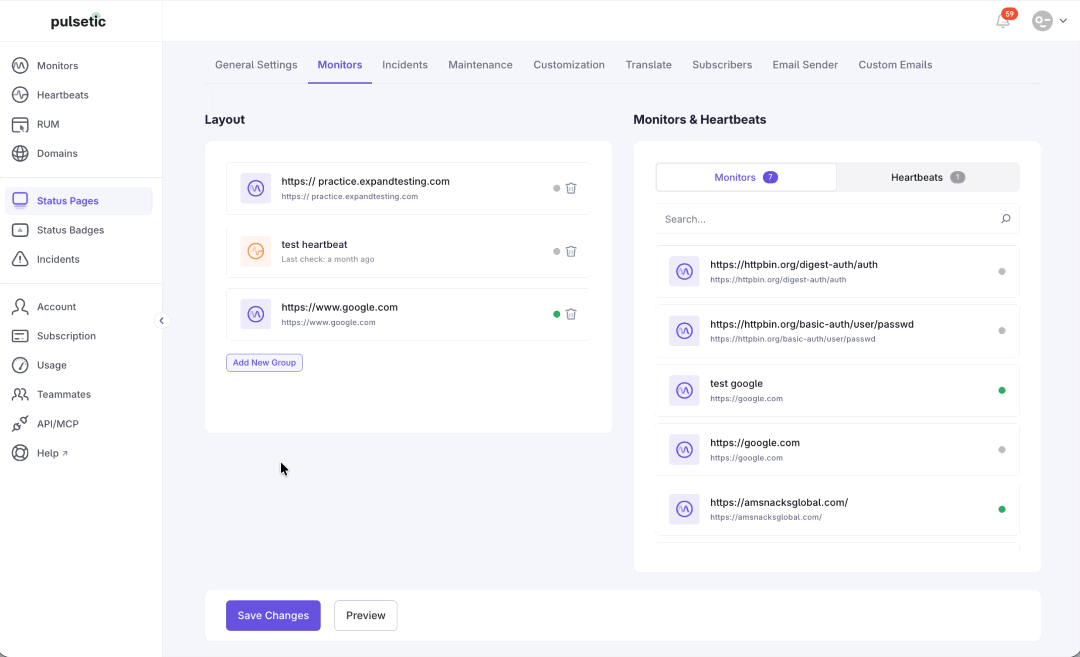
- On the Monitors page, you will see the Layout section on the left and the Monitors & Heartbeats section on the right.
- In the right-hand section, ensure you have the Monitors tab selected.
- Drag your desired monitor from the list directly into the Layout section on the left.

Note:
Heartbeats are located in a separate tab. For details, see our guide on adding a heartbeat.
Step 2: Organize Your Layout
- Click the Add New Group button to put your monitors into groups. This makes it easy to keep monitors of the same category together, like all your "API Services" or "Website Frontends."
- Set a title for your new group and drag your monitor into it.
- Tick the "Collapsed by default" checkbox if you want the group to appear closed until a user clicks on it.
- Drag and drop to organize your display. You can move entire groups, move monitors inside or outside of a group, or remove them from the layout completely.
Step 3: Preview and Save
- Click Preview to see exactly how your layout will be displayed on the live status page.
- Click Save Changes when you are finished updating your layout.
